Photography Tips for Accurate Card Grading Results
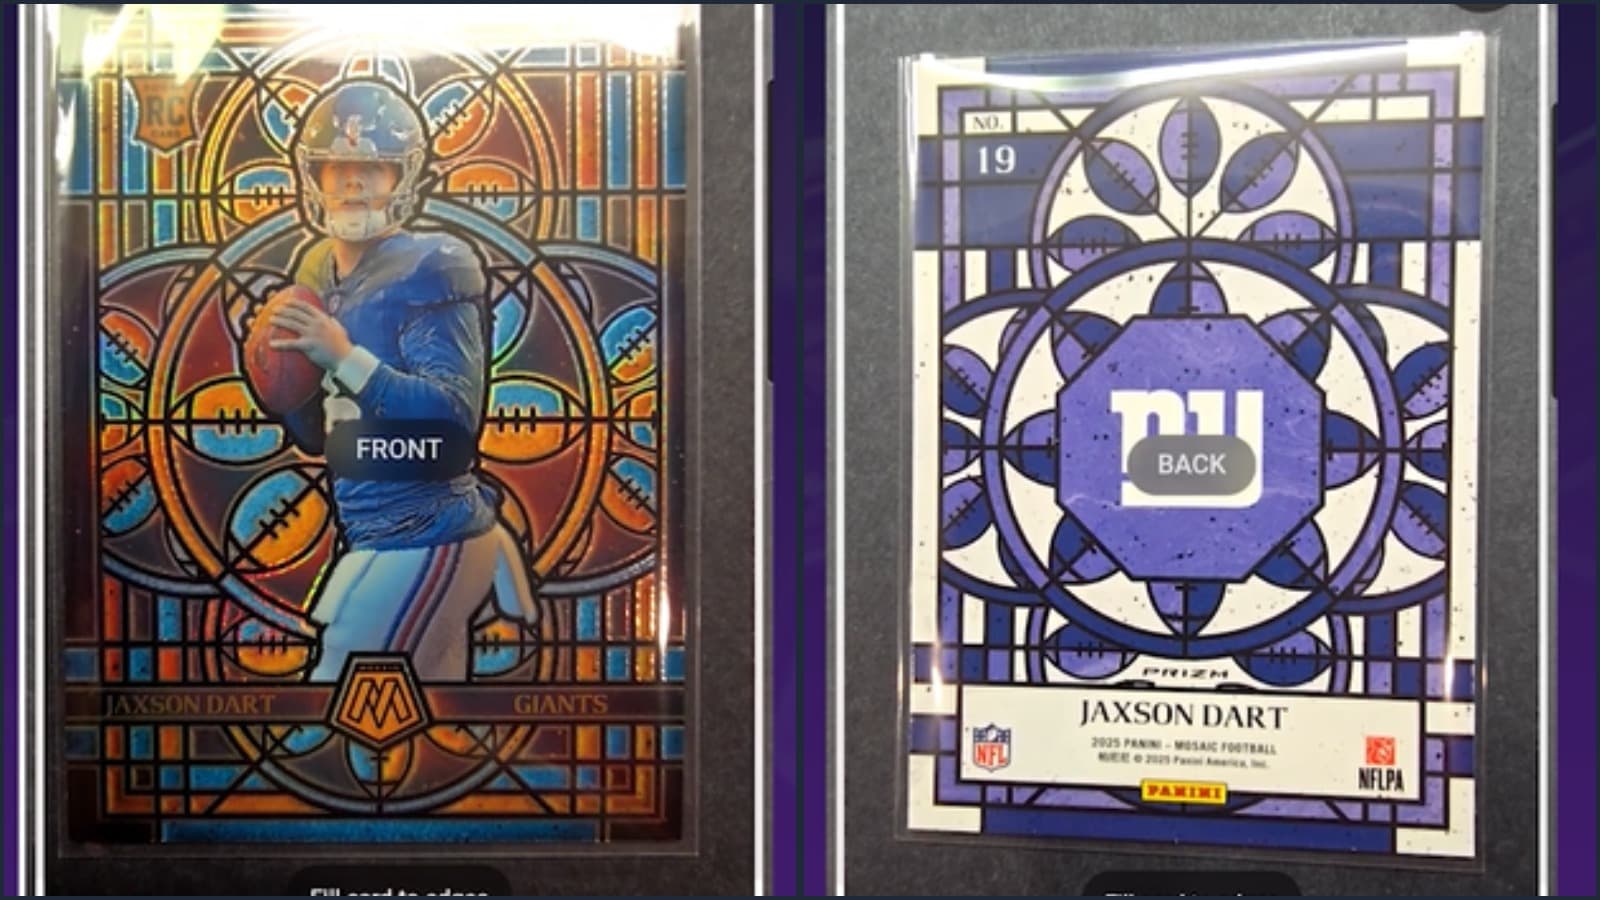
Get the most accurate grades by capturing your cards correctly
Quick answer
For accurate photo-based grading, shoot the card out of any sleeve on a plain dark background, use two diffused lights at 45 degrees or indirect window light, keep the camera parallel to the card, fill the frame without cropping the edges, and avoid flash and glare. A modern phone with good technique beats a DSLR with bad technique.
Why Photography Matters for Card Grading
When using DCM or listing cards for sale, your photos are everything. Poor images can:
- Lead to inaccurate grade assessments
- Miss surface defects, or highlight ones that aren't there
- Create glare that obscures card details
- Make cards appear off-center when they're not
Here's how to get them right.
Essential Equipment
Camera Options (Best to Good)
- DSLR/Mirrorless camera. Best quality, full control.
- Modern smartphone (iPhone 12+, Samsung S21+). Excellent for most needs.
- Older smartphone. Acceptable with good lighting.
- Webcam. Last resort, often insufficient.
A modern smartphone with proper technique beats a DSLR with poor technique.
Lighting Setup
Natural light (free and effective):
- Position near a window with indirect sunlight
- Avoid direct sun, which creates harsh shadows
- Overcast days provide ideal diffused light
- Morning or late afternoon works best
Artificial light (consistent results):
- Two matching lights at 45-degree angles
- Diffused or softbox lights reduce glare
- LED panels are affordable and run cool
- Avoid mixing light temperatures
What to avoid:
- Direct flash (creates hotspots)
- Single overhead light (harsh shadows)
- Fluorescent office lighting (color cast)
- Dim conditions (grainy images)
Backgrounds
Best options:
- Black felt or velvet (hides lint, absorbs light)
- Dark gray card stock (professional look)
- White background (clean, reveals edges clearly)
Avoid:
- Busy patterns
- Reflective surfaces
- Wood grain (competes with card details)
- Your hand or lap
Camera Settings and Technique
Smartphone Photography
- Clean your lens. Fingerprints ruin photos.
- Use the main camera, not ultra-wide or zoom.
- Tap to focus on the card center.
- Lock exposure. It prevents shifting brightness.
- Use a timer or volume button. It reduces shake.
- Enable grid lines. They help with alignment.
DSLR/Mirrorless Settings
- Aperture: f/8 to f/11 (sharp corner to corner)
- ISO: As low as possible (100-400)
- Shutter: Use a tripod, any speed works
- Focus: Manual focus for consistency
- White balance: Match your lighting
Step-by-Step Photo Process
 Camera and Photography Tips for DCM
1. Set Up Your Station
- Clean, flat surface
- Background material laid flat
- Lights positioned, or window light identified
- Camera or phone mount ready (tripod ideal)
- Clean microfiber cloth nearby
2. Prepare the Card
- Remove from sleeve. Reflections ruin photos.
- Handle by edges only. Avoid fingerprints.
- Gently clean if needed. Microfiber, no liquids.
- Check for dust. Blow off any particles.
3. Position the Card
- Card flat against background
- Parallel to camera, not tilted
- Centered in frame with margin around edges
- All four corners visible
4. Check Your Frame
Before shooting, verify:
- Card is straight (use grid lines)
- All corners visible in frame
- No shadows crossing the card
- No glare or hotspots visible
- Card fills 70-80% of frame
5. Take Multiple Photos
- Shoot 3-5 images of each side
- Slightly adjust angle between shots
- Review immediately and reshoot if needed
- Keep the best, delete the rest
Dealing with Problem Cards
Foil/Chrome Cards
These reflective surfaces are challenging:
- Use diffused lighting (essential)
- Try tent lighting, surrounding the card with white paper
- Angle lights to avoid direct reflection
- Take multiple shots at different angles
- Accept that some glare may be unavoidable
Vintage Cards
Older cards need special attention:
- Show wear accurately, don't hide it
- Watch for wax stains, which photograph darker
- Creases may need angled light to show
- Paper texture is normal, not damage
Thick Cards (Relics/Autos)
Cards with memorabilia or raised surfaces:
- May need more distance
- Watch for shadows from raised elements
- Consider multiple focus points
- Relic windows often reflect, so treat them like foil
Common Photography Mistakes
1. Card in Sleeve/Toploader
Problem: Plastic reflections, distortion, captured dirt Solution: Always remove for photography
2. Overhead Lighting Only
Problem: Harsh shadows, uneven exposure Solution: Add side lighting or use window light
3. Too Close
Problem: Lens distortion, focus issues Solution: Back up and crop later if needed
4. Tilted Cards
Problem: Appears off-center, corners cut off Solution: Use grid lines, position card carefully
5. Dirty Background
Problem: Dust and fibers distract and look unprofessional Solution: Use a lint roller on black felt, or fresh paper
Photo Checklist for DCM
For best DCM grading results:
Image Quality:
- Well-lit, even exposure
- Sharp focus throughout
- True-to-life colors
- Minimal noise or grain
Card Presentation:
- Card removed from sleeve
- All four corners visible
- Card parallel to camera
- Clean, plain background
Technical:
- Image at least 1000px on short side
- No heavy filters or editing
- Straight orientation, not rotated
Quick Reference: Lighting Setups
Budget Setup ($0)
- Window with indirect sunlight
- White paper for fill
- Phone on a stack of books
Intermediate Setup ($50-100)
- Two LED panels
- Simple tripod
- Black velvet background
Professional Setup ($200+)
- Softbox lights
- Copy stand or mount
- Multiple backgrounds
- Color calibration card
The Impact of Good Photos
Better photos mean:
- More accurate DCM grades. DCM Optic sees what's really there.
- Faster sales. Buyers trust clear photos.
- Higher prices. Quality presentation commands a premium.
- Fewer returns. Accurate representation reduces disputes.
- Better records. Document your collection properly.
Ready to grade with confidence? Great photos lead to accurate grades. Upload your cards to DCM and get instant condition analysis.
Frequently asked questions
- Should I photograph a card in its sleeve or toploader?
- No. Plastic adds glare and hides edges and surface. Remove the card, then put it back after the photos.
- What background works best?
- A plain dark, non-reflective surface such as black felt. It gives clean edges for centering and does not throw color onto the card.
- How do I photograph foil or chrome cards?
- Use diffused light from two sides, tilt slightly to move reflections off the card, and take several shots so you can pick the one with the least glare.
- Do I need a DSLR?
- No. A phone from the last few years with steady hands, good light and the card filling the frame produces photos DCM Optic can grade well.